|
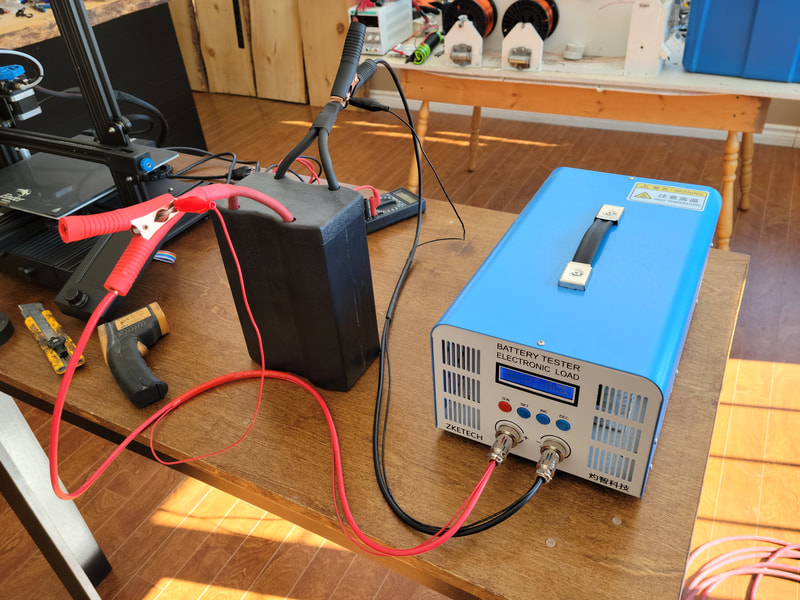
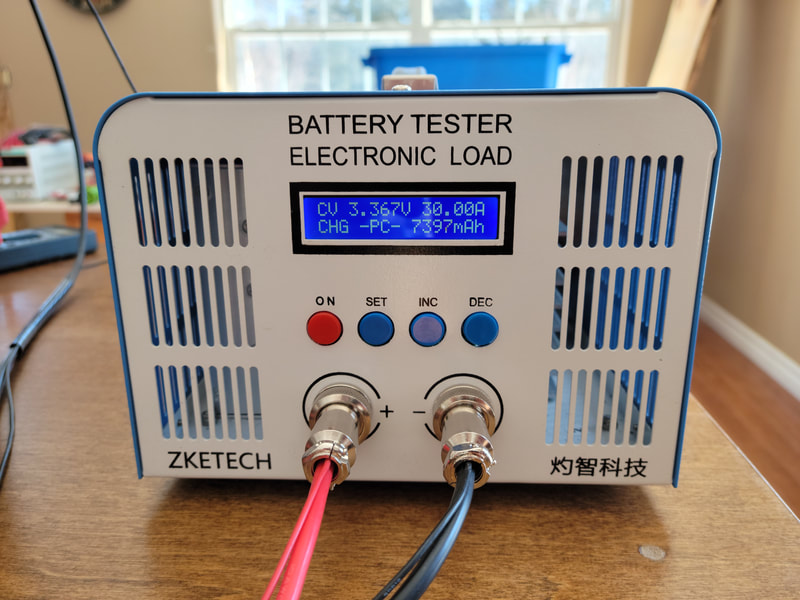
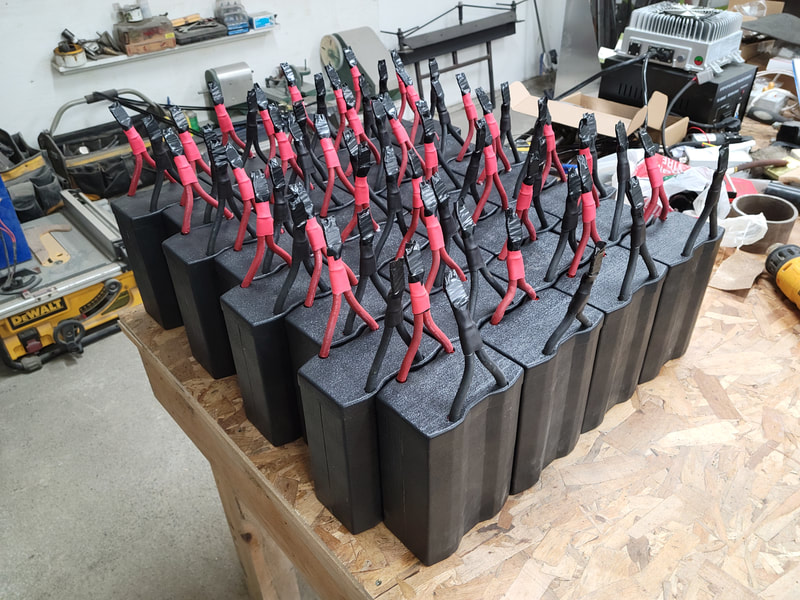
I started balancing the battery modules yesterday to prepare for installation. I'm using the EBC-A40L from ZKETECH. It comes with software that has loads of features for doing all kinds of battery testing and data logging.
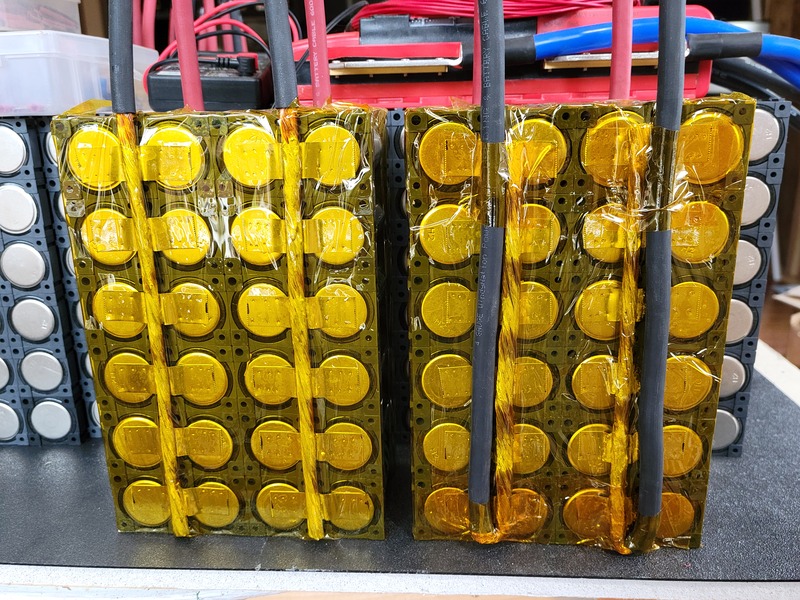
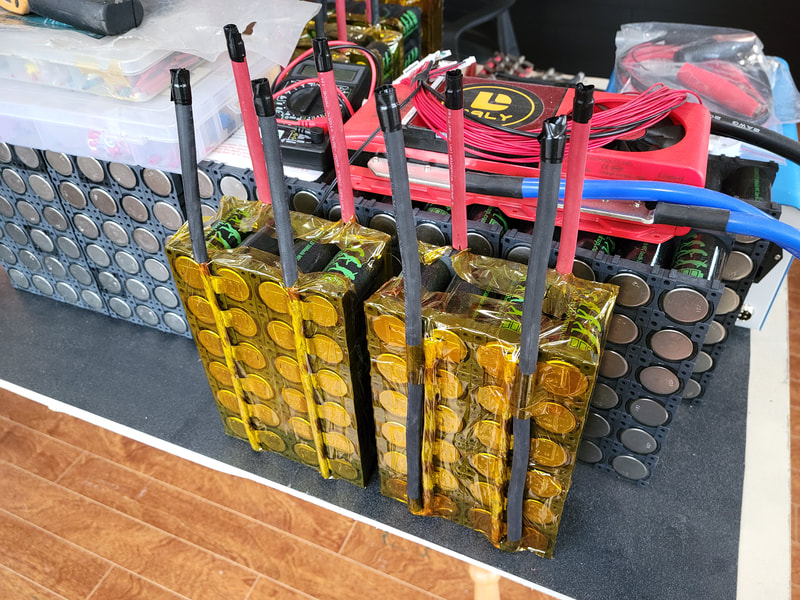
As some of you know, I made a change to the module wiring since the battery build video. Previously, I had both positive and negative cables attached the same, exiting the module at the top. Because electricity tends to take the path of least resistance, this wiring would have forced the top cells to handle most of the load when charging and discharging while the other cells slowly try to equalize on their own, and eventually the top cells would need to be replaced sooner than the bottom cells. To fix this, I spun the negative cables around so that they exit the module at the bottom cells to force current to flow from top to bottom. Two of the pics below show the old wiring (left module) and new (right module).
Atm I'm topping up each of the cells individually and putting them through a couple of full discharge and charge cycles to test capacity. Then I'll connect them in parallel and cycle them a couple more times before disconnecting them and bottom balancing individually. Basically, that involves discharging the cells to around 2.7V, stopping the discharge and waiting 24 hrs for the voltage to rise, then repeat until the resting voltage stays at 2.7 24 hrs after discharging. I'll do this with each cell and then they'll be balanced and ready to go in the kart and connect with the Daly BMS, which will take care of the balancing from then on.
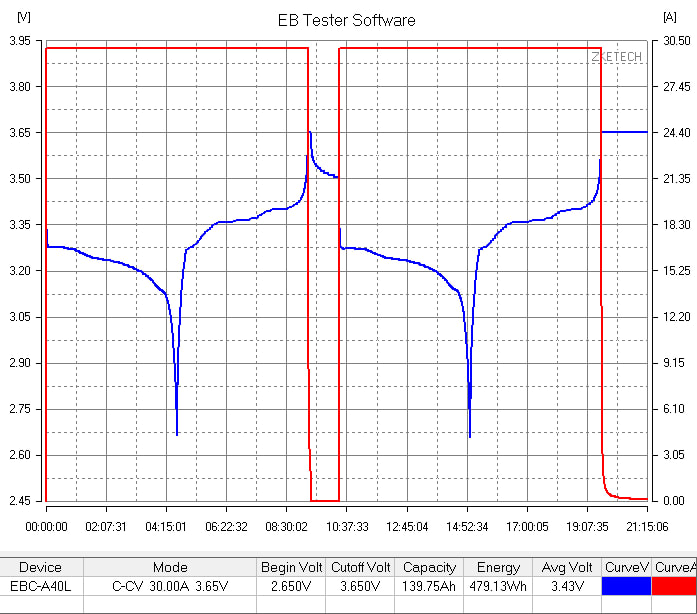
The chart below shows the discharge and charge curves for one of the battery modules. The modules are discharging at least 139 Ah (445 Wh) from ~3.45V down to 2.65V, a lot more than what I was expecting. I purchased the 32650 cells from Battery Hookup as 5000 mAh, but with 139 Ah from a 24P module, that means I'm getting around 5700-5800 mAh per cell instead. That's an extra ~2 kW more than I was hoping for, so needless to say I'm pretty happy about that.
The EB tester software allows the user to set up a schedule to execute different tasks automatically and log the data as shown above. To cycle and test the capacity of the modules, I set my tester up to do a constant voltage charge with 30A to top up the modules to 3.65V, cutting off at 2A, and then wait for 60 min for the voltage to rest to around 3.4-3.5 (typical resting voltage for LiFePo4 chemistry) before automatically switching to constant current discharge with a 30A load down to 2.65V, then switching back again to constant voltage charge with 30A to 3.65V, cutting off at 2A. Then repeat another discharge and charge, cutting off at 3.65V and 0.1A.
The tester is a bit pricey, but I think it's a good investment for anyone who wants to do something like this (ie: build an ev). I can't imagine how long it would take to balance the modules for a battery this size using one of my little 5-10A power supplies. It would be months, at least.
1 Comment
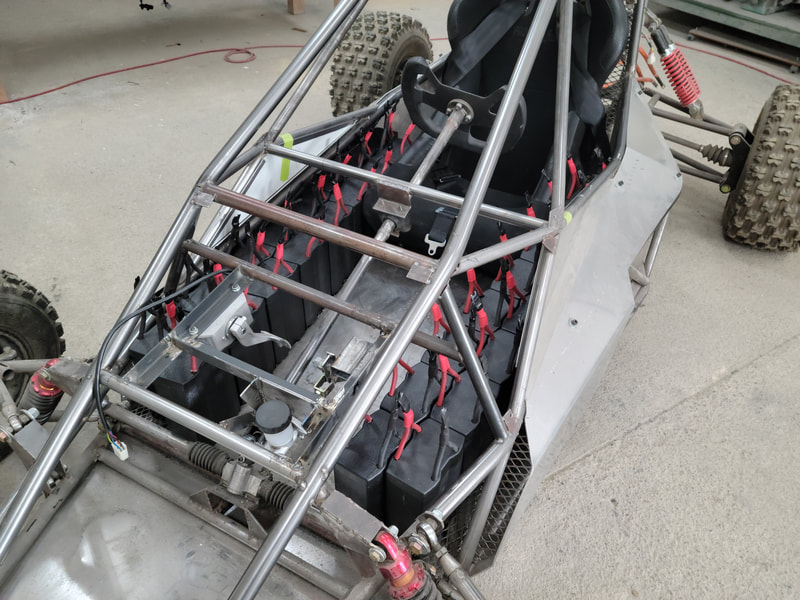
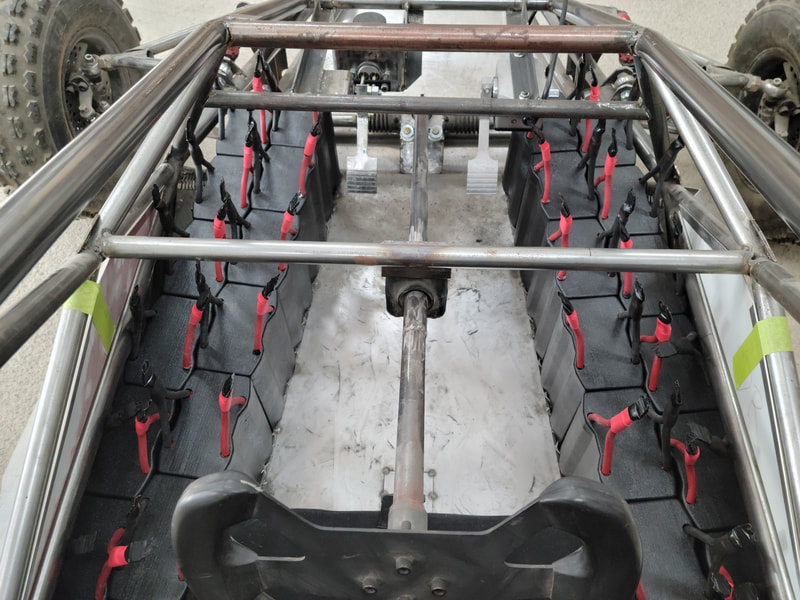
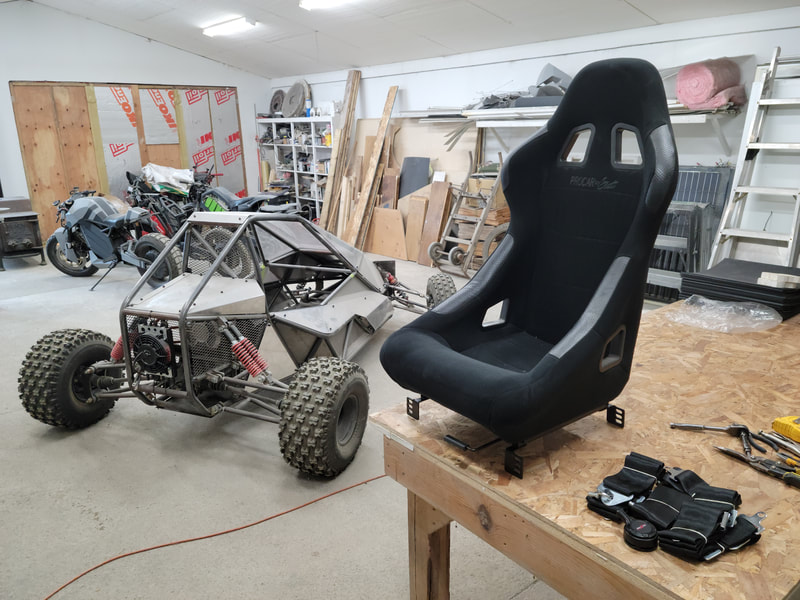
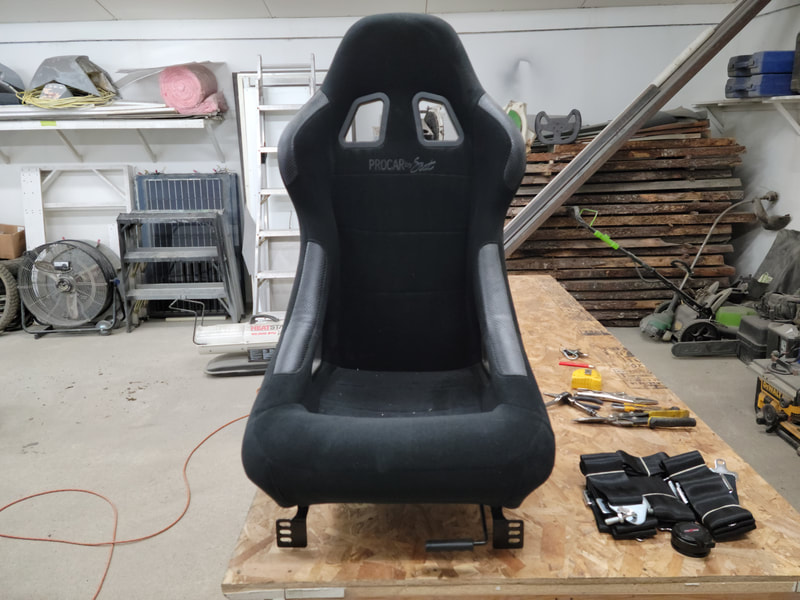
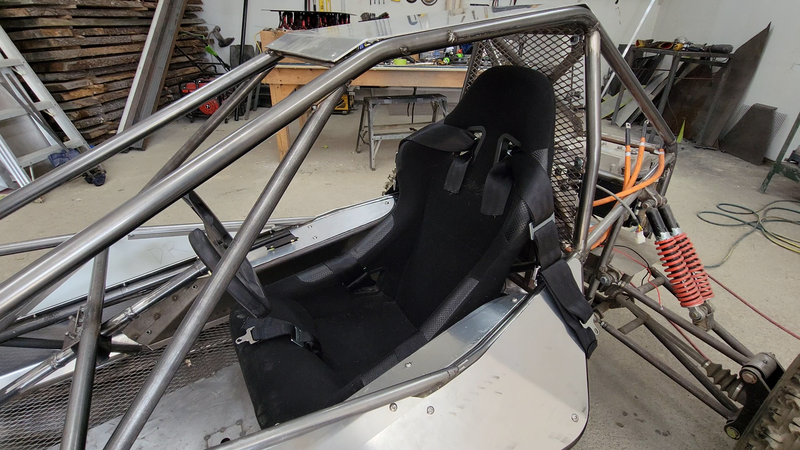
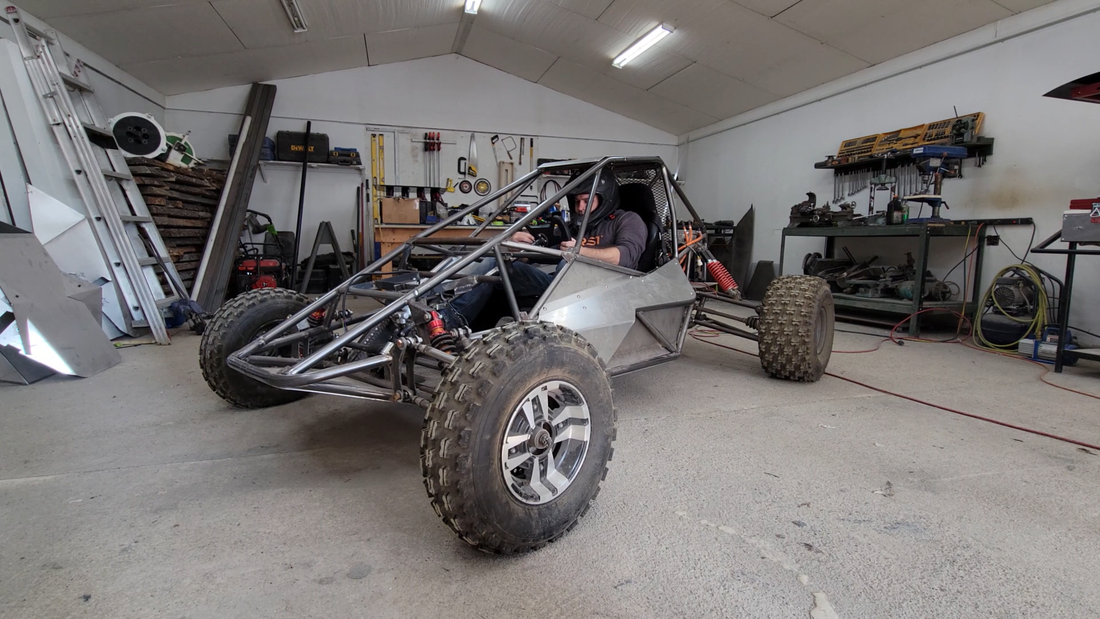
After building the battery modules, I moved on to fitting the bucket seat and parking handbrake. The seat was made by Scat Enterprises. It's designed for use with a 5 point safety harness and is as comfortable as I would expect for a racing seat. It's covered in a velour fabric which I'm not a fan of, but it's a proper seat and the most affordable I could find in the size that I needed without resorting to a plastic go-kart seat. I weigh ~180lb and it hugs my ribs pretty tight. If I were any bigger then it wouldn't be very comfortable at all, so if you're a light-heavyweight+, you're going to want to find something larger for your project (I believe these only come in one size).
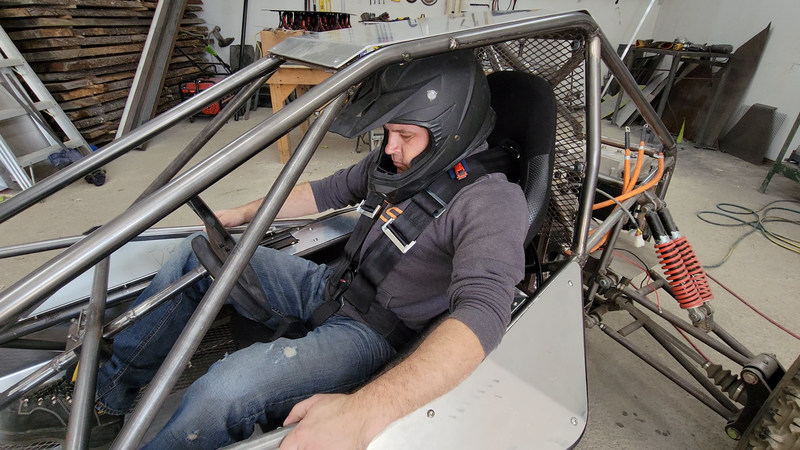
It also came with a slide track for forward/back adjustment, but it added almost 3" to the seat height and I had no room to spare, so I put the seat in the kart, jumped in and checked the leg room to determine the right location for it, then made my own fixed mounts and bolted everything to the steel plate below the floor pan. I'm making adjustments to the kart plans to add more headroom to allow for the slider and taller drivers, though.
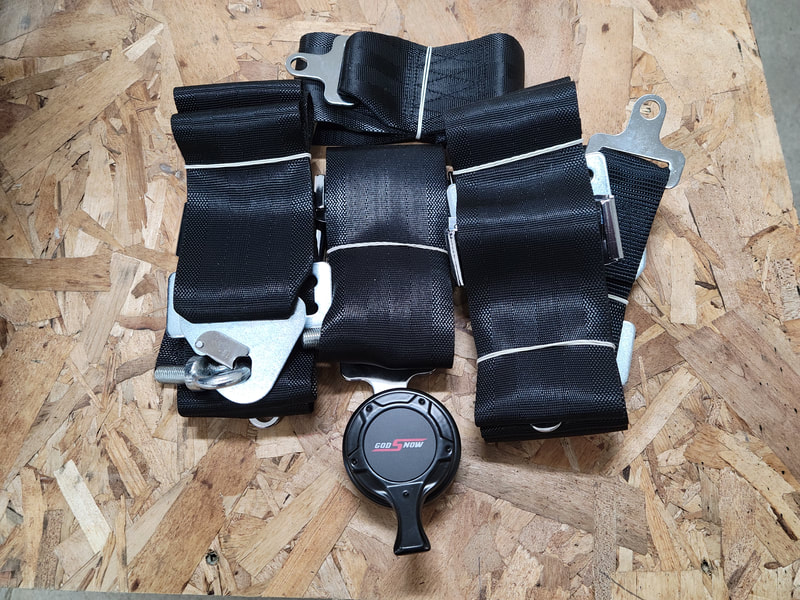
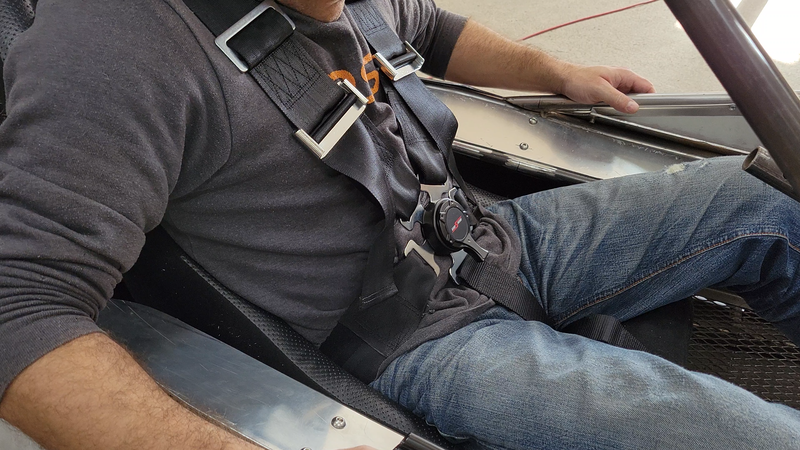
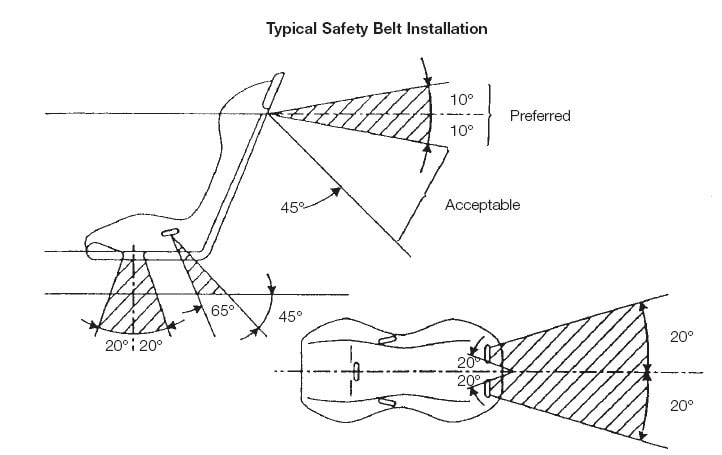
I then welded mounts for a camlock 5 point harness directly to the tube chassis. I might change to a latch and link type harness because I've heard the camlock types can get jammed with dirt when used off road. To protect my spine and keep me in the seat, the angle of the straps need to be within a certain range. The mounts for the shoulder straps are situated so that the straps are close to 90° (perpendicular) to my spine, and the waist straps are at a ~45° angle. This will ensure that the shoulder straps only put pressure on the front of my shoulders and chest to keep me from moving forward and not down on my shoulders, and the waist straps will keep my butt in the seat while keeping pressure off of my spine.
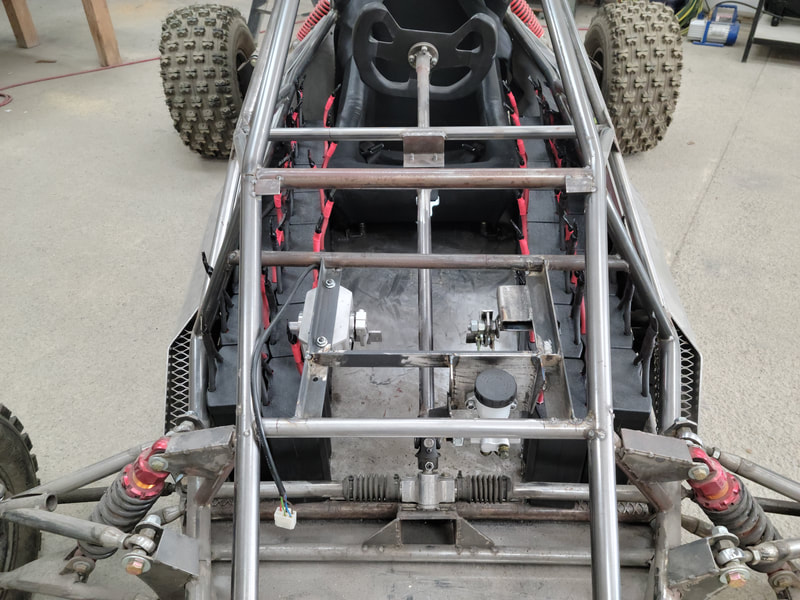
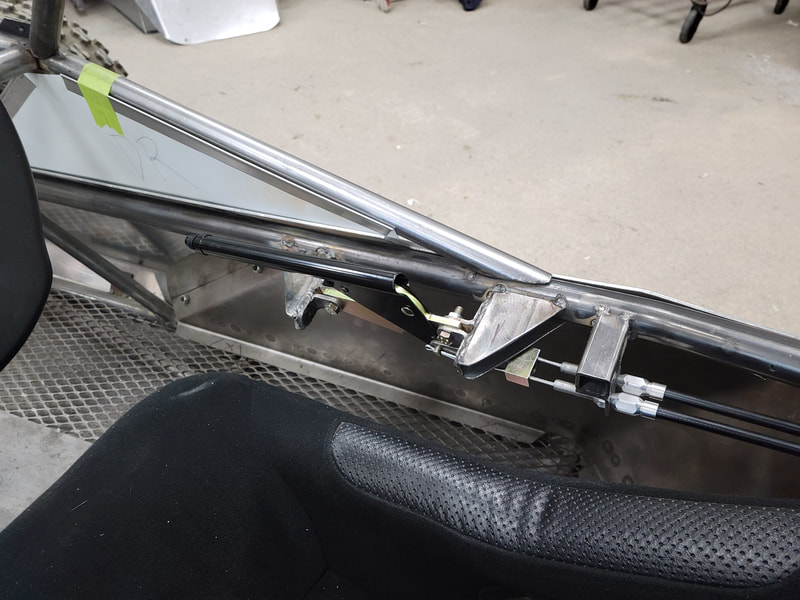
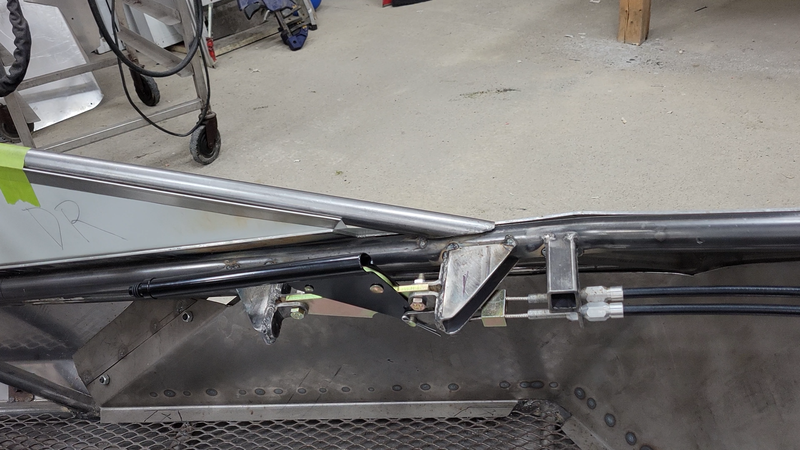
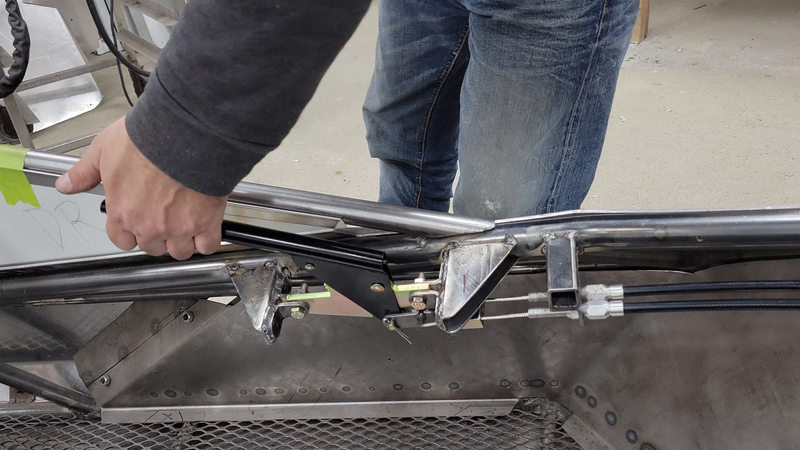
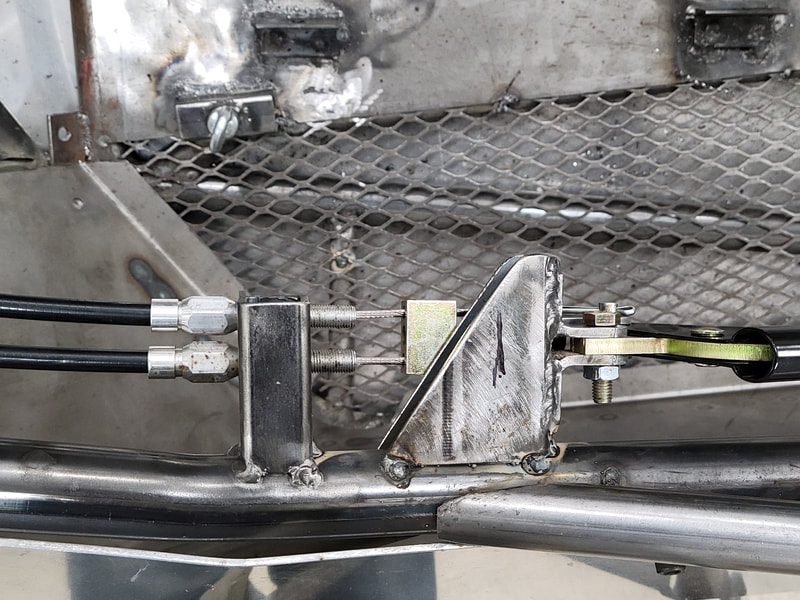
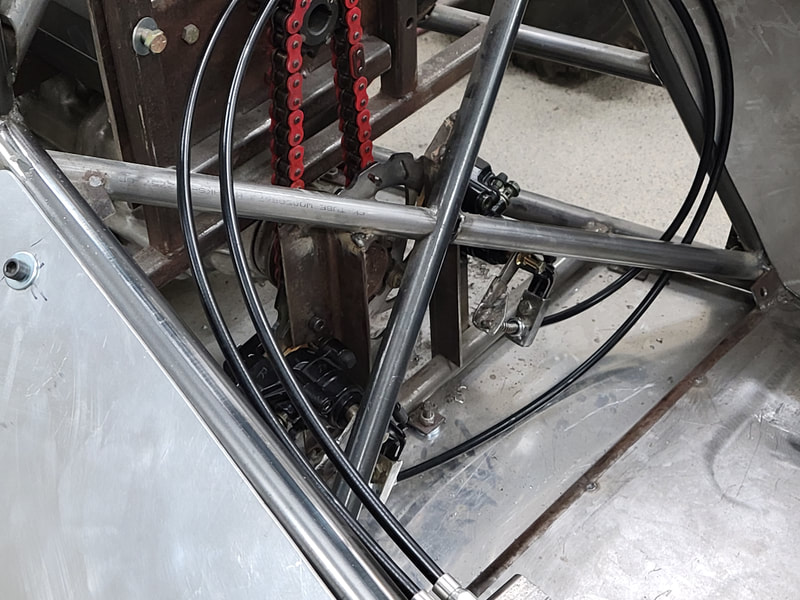
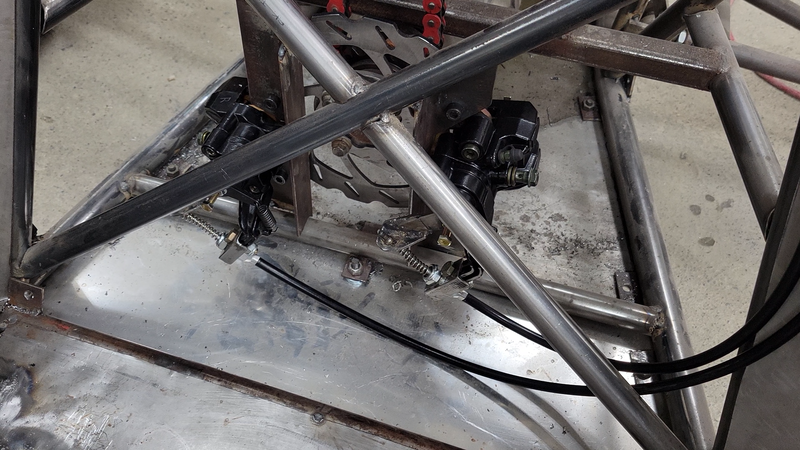
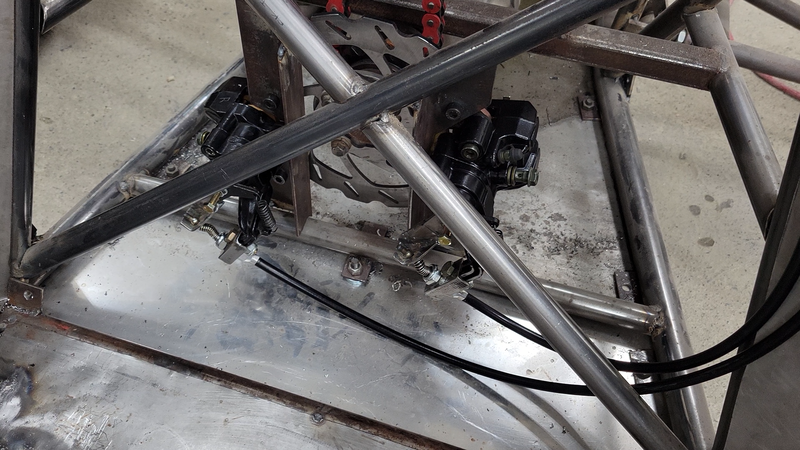
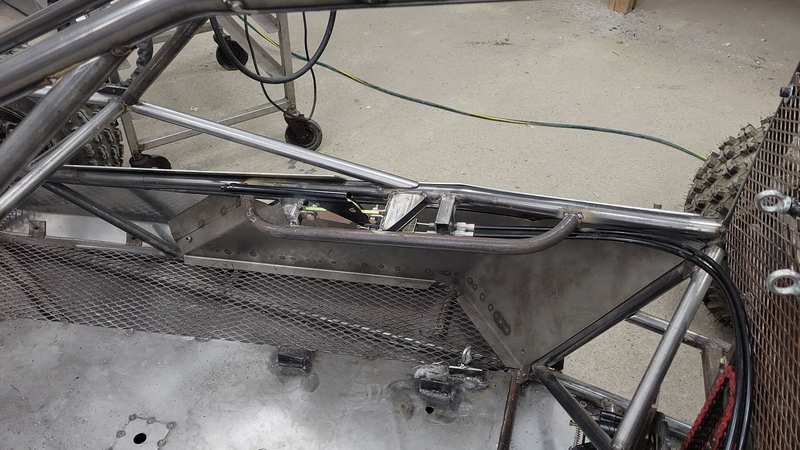
Because there's no transmission in the kart, there's also no parking gear. I used a Dodge parking brake kit to solve that problem. It came with everything I needed, from pins to cables and springs, but of course I had to make some minor modifications to the cables and the dual Banshee rear calipers to make it all work together.
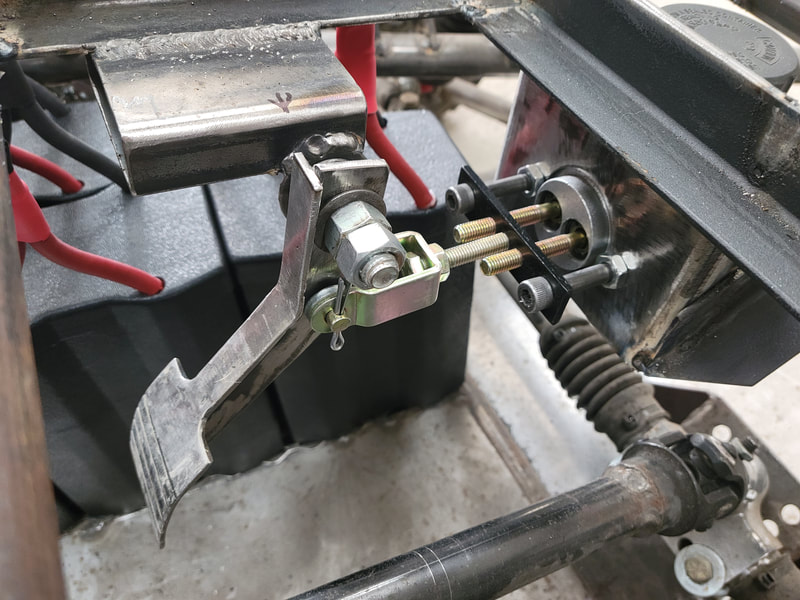
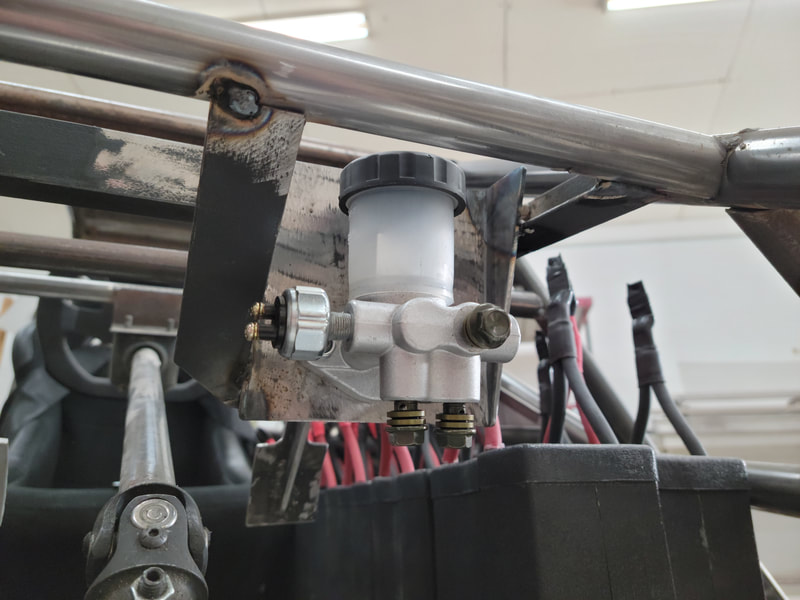
The hydraulic brakes will be controlled by a universal master cylinder made for atv's and buggies, which also comes with a switch installed for operating brake lights. It doesn't come with a brake pedal, so I made one from steel plate to match the electric throttle pedal.
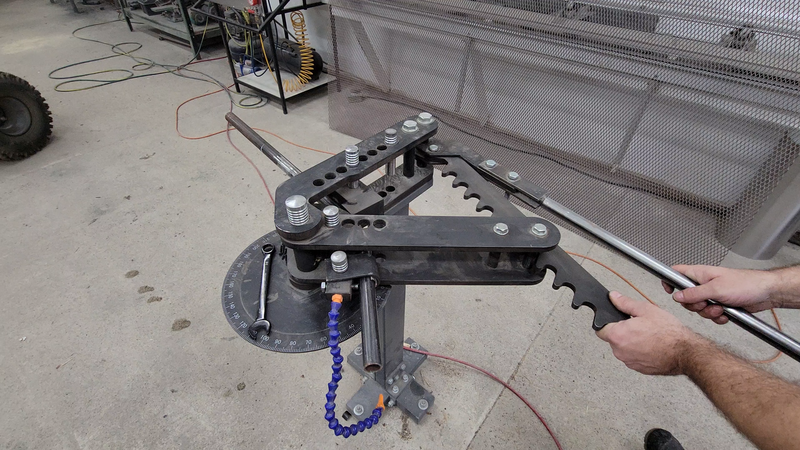
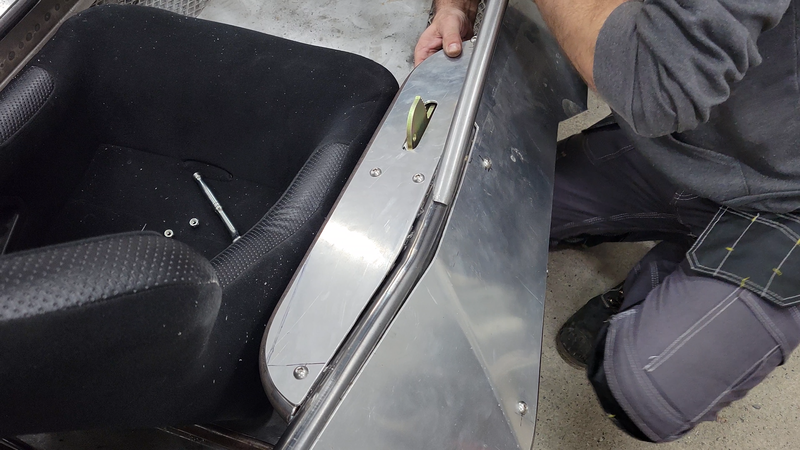
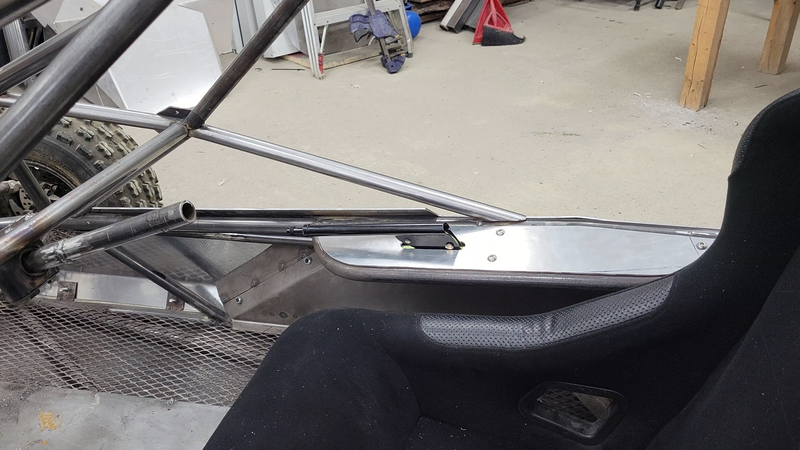
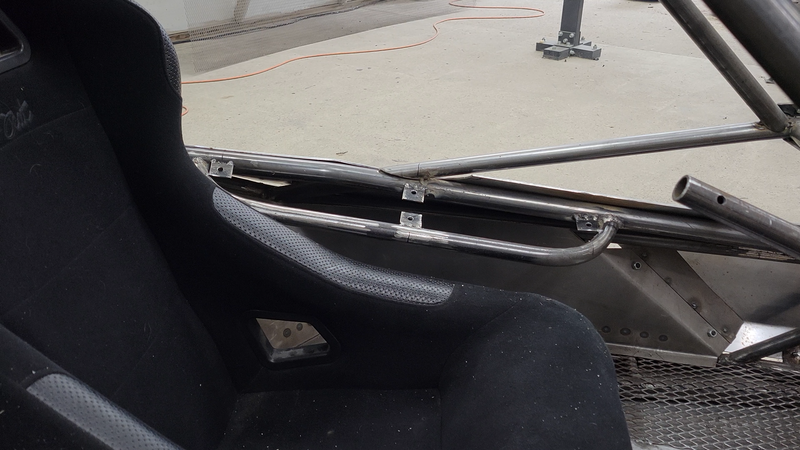
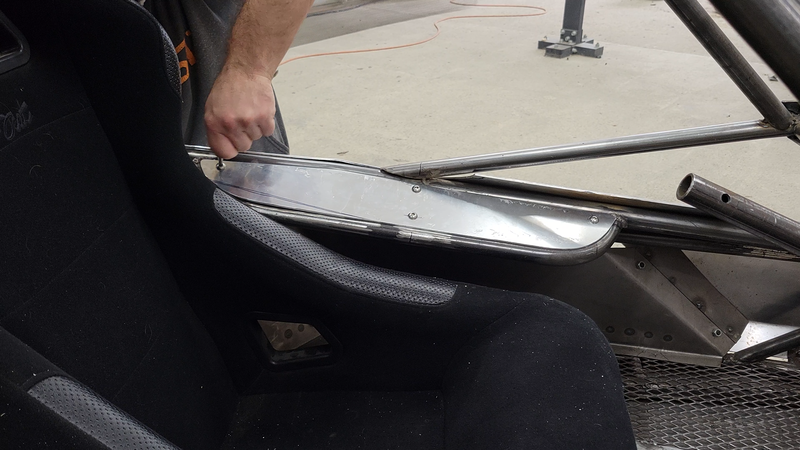
I also added some armrests, more for protection than resting. I needed a way to cover the mounting brackets for the handbrake, so I bent a couple pieces of 1" HREW steel tubing with a 4" radius on each end, welded them in place and covered them with 1/8" thick aluminum plate. |
AuthorJames Biggar Archives
March 2023
Categories |
||||||


 RSS Feed